

Contact for Deadpan Robot:
Today I received some Gameboy Advance parts from Deadpan Robot - a red shell, a glass screen lens, and a backlit replacement screen complete with 40-pin cable adapter for installation in my AGB-001 (original) GBA. I ordered from them for two reasons: I didn't want to order from China, wait ages, pay loads of EU customs, and I wanted an easy communication in case of problems. They are also from Hertfordshire and I'm a Watford boy, so that caught my eye. Total cost was £76.00 including postage, which Paypal translated to €89.72. Not cheap, but half the cost of an AGS-101 in Amsterdam.
 |
| The GBA shell is well produced. |
Here are my thoughts on the products.
First of all I'd like to comment on their customer service. I had trouble with their website only iPhone, and later my Mac, not allowing me to select shipping options to Netherlands (they are based in the UK). They responded to my email within a day, and after a little to and fro put it right, and gave me a 10% discount for my trouble. Not bad. Communication was friendly and open.
The products were posted last Thursday, the same day I ordered, and made it across the North Sea by the following Tuesday. Well packaged in a little box, each Item bagged and the screen was well wrapped in bubble wrap and inside a cardboard box.
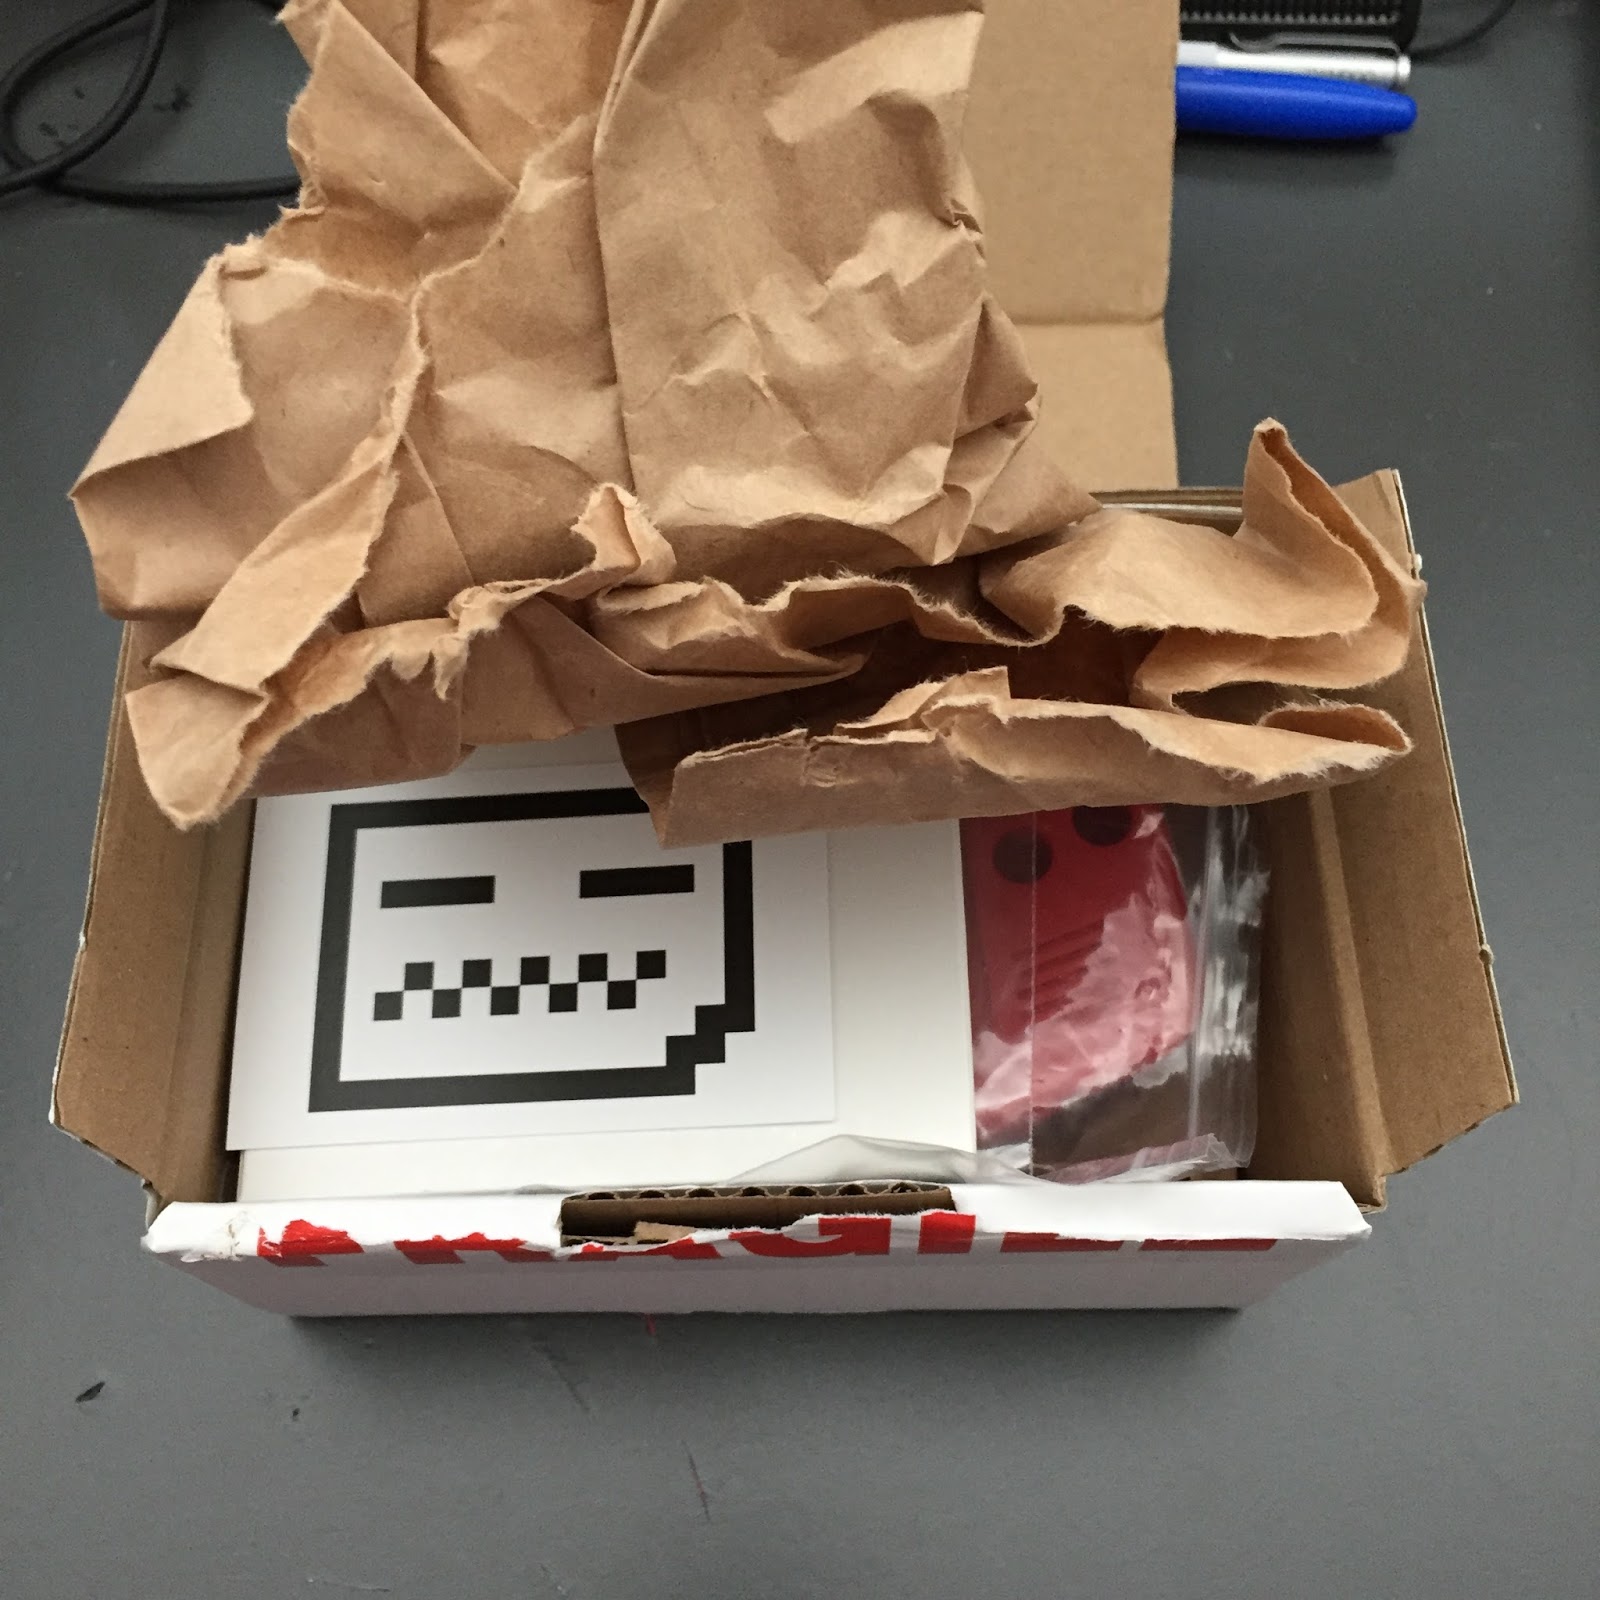 |
| Packaging was top-notch and everything was intact. |
I had a manky old GBA whose screen I had smashed in an earlier frontlighting attempt. The white shell had gone a nasty dark yellow and the screen lens was scratched.
Before I could install the screen, which is a replacement for the GBA SP, I had to modify the shell of my GBA to make space. A raised ridge had to be shaved down, for which I used my Dremmel and a grinding attachment, tidying up the resulting mess with a scalpel. The screen the dropped in place, protective film protecting it throughout. I folded the video cable (too long with the adapter cable added) and installed the buttons and motherboard. The cable slotted into place and the motherboard was screwed down.
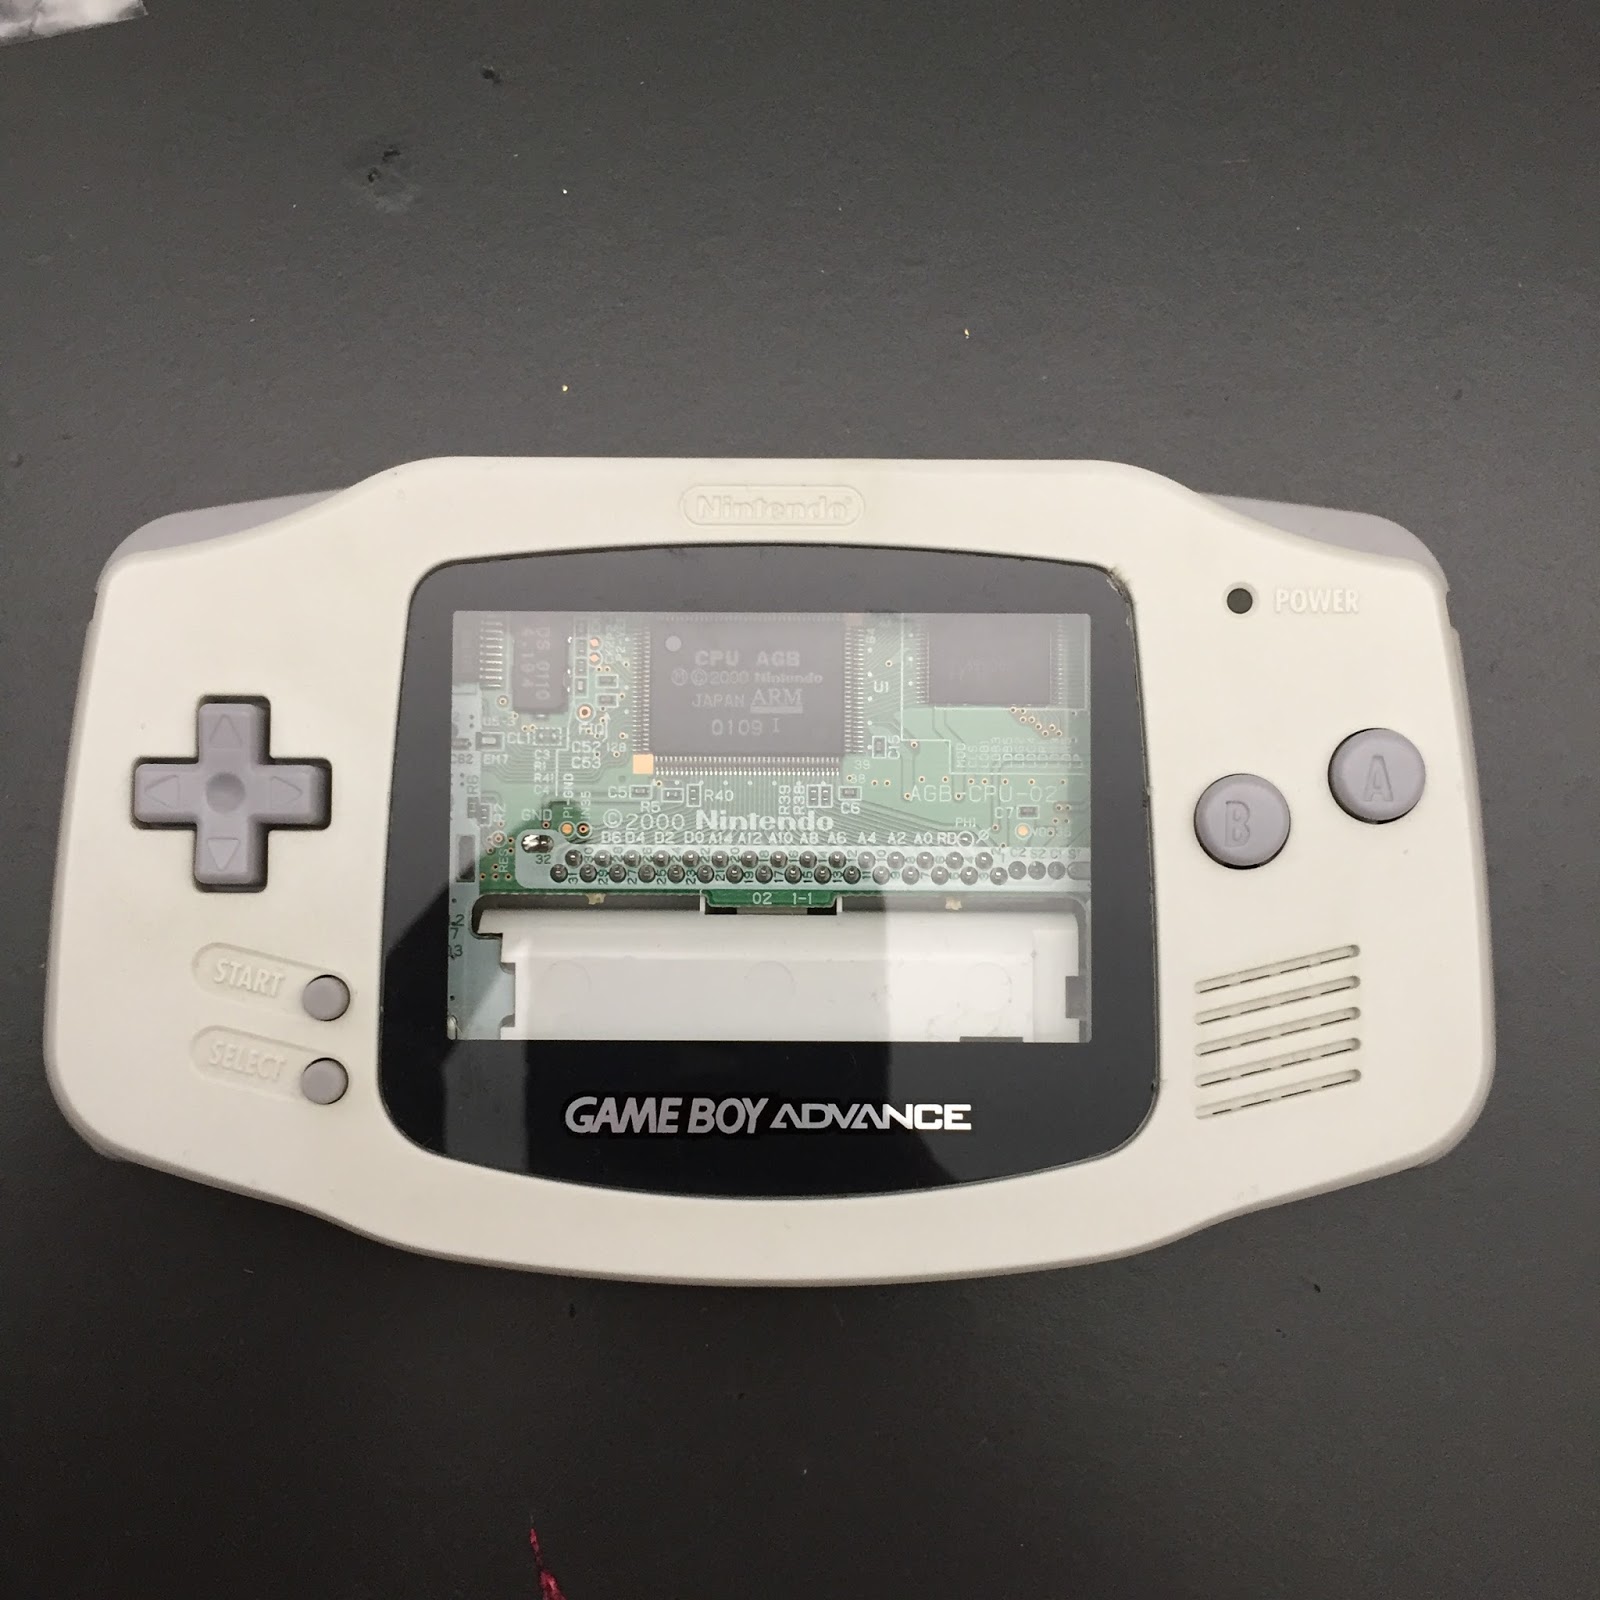 |
| My old GBA had not aged well. |
Soldering the power cable for the backlight was a real pain. It attaches to a tiny surface-mount component. My soldering iron is large, I need to invest in a finer tip for this delicate work as my main use for it is in building and modifying guitar pedals, using full size components. At first I ended up with a dollop of solder across three legs of two components... after cleaning that up I was able to get the wire soldered in place, and routed away from the edge of the shell.
I got the shell together, placed the screen lens in place, transferred my serial number sticker (using a hot hairdryer and a scalpel) and inserted some batteries.... success!
The screen's brightness seems good, there is no noticeable interference on the screen. So far so good. (The strange flickering you see in the photo is not visible to the naked eye).
 |
| Success! |
In GBA games I found the colours to be good. It matches the Gameboy Micro's glorious display as far as my eyes tell me. With Gameboy games the colours may be a little over-saturated. I've tried Tetris and Super Mario Land using their Gameboy Colour palettes, and Tetris DX and Links Awakening DX to check GBC native versions. It's certainly not game breaking, and as I can't play GBC games on my Micro, I can't comment on how they would look on that backlight screen. I have read that it's a result of games being made brighter to compensate for the GBA's lack of lighting, which makes some sense.
Brightness is great sitting here in normal indoor daytime light, but lack of adjustment may be a problem for night use during which it might melt my retinas. The display is sharp too. It's a pixel-perfect recreation of the original, so no scaling is at work here to spoil things.
Overall I am very happy with the screen. Apart from the soldering it was very simple to install. The shell modifications may put some people off, as may the tiny space for soldering, however for me the results are perfect. The GBA SP is a lot more difficult to open, and I much prefer the form factor of the original - not to mention the cartridge slot location - so for me this is the best way to enjoy my old games.
 |
| GBA games look SO good on this display. |
The shell leaves a bit to be desired. It is good, and fits around the motherboard properly, but I had a couple of problems screwing it together. It came with five screws, where ten are needed - three to attach the motherboard, and seven to attach the rear of the case. (EDIT: Looking closer it appears that the screen's added thickness is the problem, causing a lot of outward pressure on the shell. I may open it up later and see if I missed any parts that could be shaved a little further, but I've done so well to leave the inside dust-free I'm hesitant to risk ruining that).
Luckily I had my old GBA shell, and so these screws were available to me. I also have a problem with the one screw that sits inside the battery compartment - it will not screw in enough to hold the case fully closed. (EDIT: I used one of the supplied, shorter, screws and it worked a treat. Again the problem seems to be the screen pressing outward, so I won't do the screws too tight). I'll try one of the shorter screws that came with the shell and see if that solves it.
I also have a problem with the L trigger. It works just fine, but does not spring back in a nice, tactile manner that you'd expect. The R trigger is fine. I've had to slightly loosen the shell screws by L trigger to help with this.
The glass screen lens is a great upgrade to the plastic original. Whilst it won't scratch so easily, I worry about it cracking - but as I look my things I'm sure it will be ok. The wording "Gameboy Advance" at the bottom of the lens is a little rough, but you have to look closely to notice.
 |
| That little red wire is a pig to solder. |
The final comment concerns installation. There are no instructions for the shell or the screen. There is a section on Deadpan Robot's site, but it is empty. The site says all over the place "site under construction" so I'm sure it will come in time. Lucky for us there are instructional videos on YouTube. I followed this one by Does Not Compute which has all the information you'll need. He also does a follow-up video in which he addresses issues he had with low brightness and low quality image on his replacement screen - issues I didn't have with this one. Overall installation is simple enough if you take time to be careful, but that one piece of soldering is very fiddly and it is easy to mess something up with it. Additionally the screen is not a perfect fit for the original GBA form, and as such expect a few problems squeezing the case back together.
So, thanks DPR for making my day. I love my new GBA in all its backlit glory. I will be in touch when I'm ready to upgrade my SP AGS-001.
No comments:
Post a Comment